Welcome

All the finished works at my homepage www.jussikontio.com

keskiviikko 26. helmikuuta 2014

Here comes the sun - kitchen talk


This is the story of the making the kitchen for our new place, from the floor upwards.


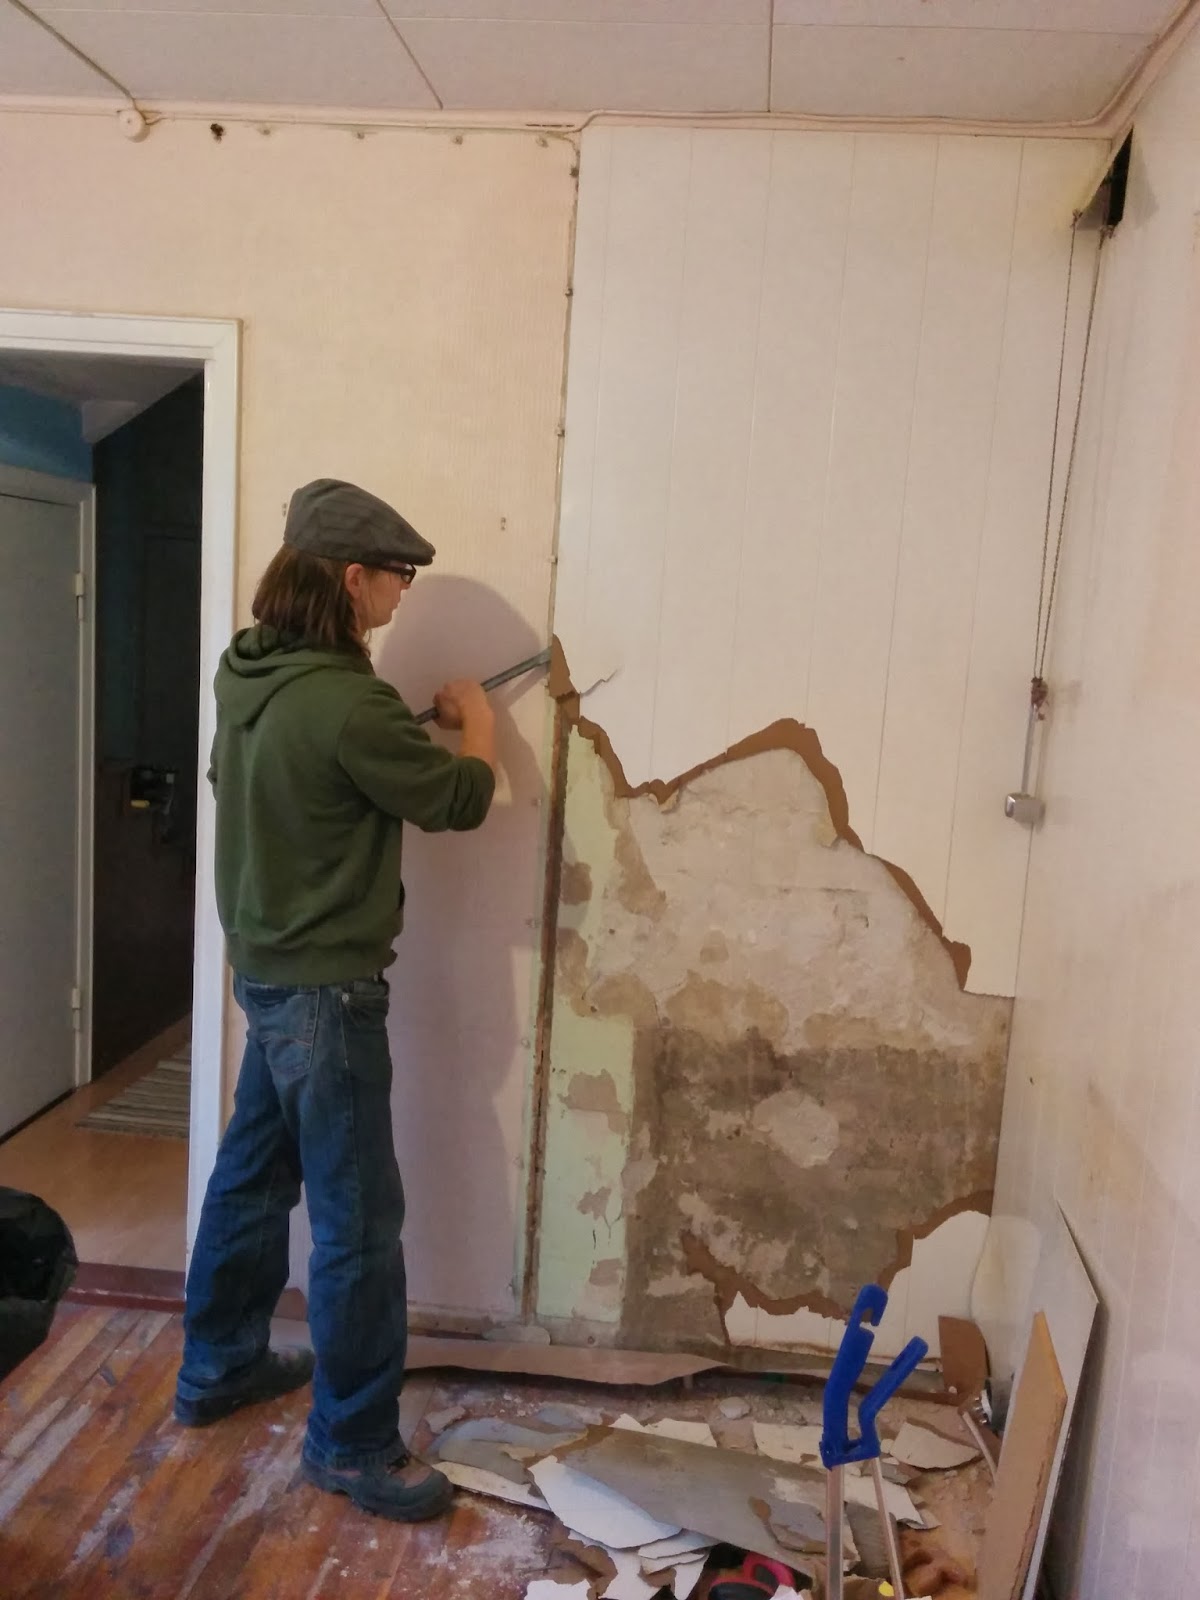
 So first off we started with taking off these plates and plastering revealing the gorgeous red brick wall underneath, good theme for a kitchen.

 I dissambled this fifties kitchen from a block house in Helsinki to have enough pieces to re-create a retro one.


Then the sink cabinet was piled around the pipes and the floor was painted up.
Almost all of the cabinets got a new plinth and a leveling above to meet the hights of modern standards.


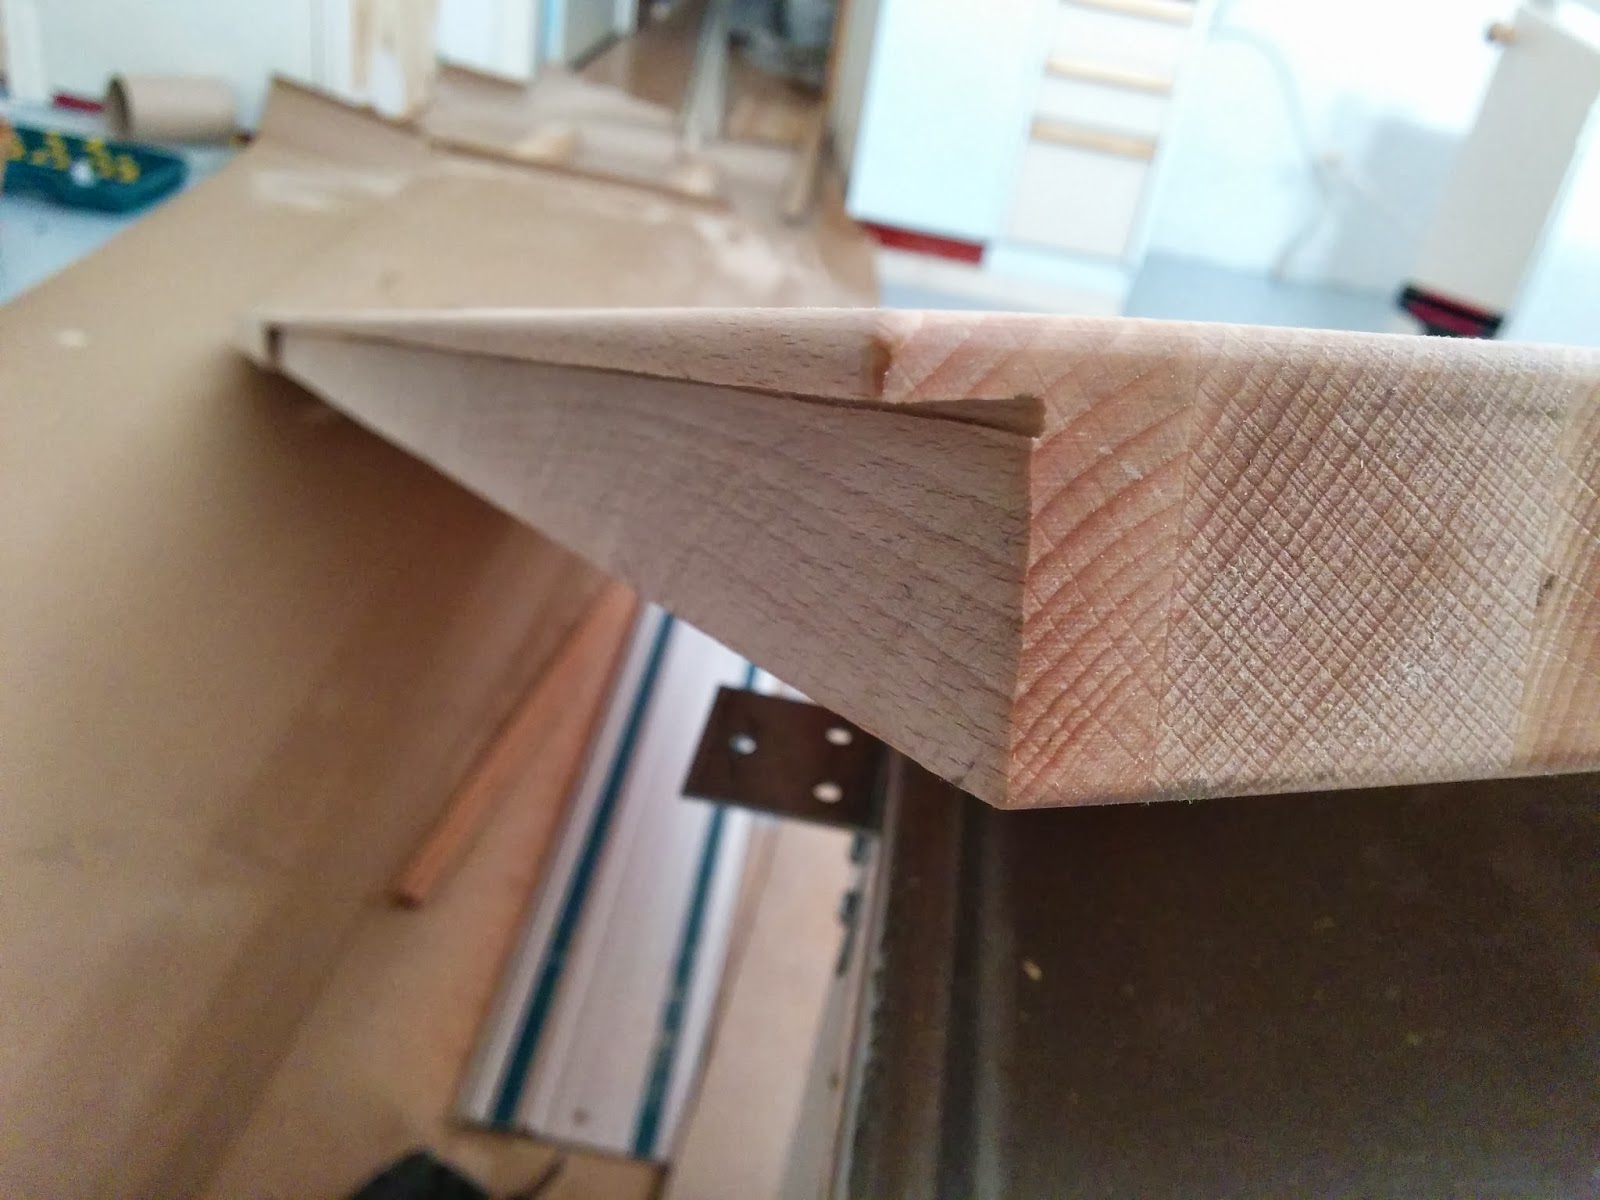
The table tops were finely cut to meet the eclectic walls.


 And then attached firmly to the base (though leaving the leeway for the wood to live their own life).


The table slabs got elastic joints and the food closet was restored in to its old place, with good insulations the floor heating going around it though, so it could  be turned to a traditional cool cabinet by drilling ventilation to the outer wall.


Then we had a bee to paint all the closets with new surfaces, bright yellow and white!

Cabinets attached to the walls aaand...

we even got power!  No rush finishing this with battens.

And a lot of light with all these old windows.


perjantai 31. tammikuuta 2014

Mattress Making


This is a post of making a baby size futon bed!

The story starts from here. Our one-and-a-half-year-old wanted her own bed, since her cousin happened to have one and we found this for her from the nearby recycle center.


Since we have always been sleeping on a futon family bed AND we happened to have this wreck of a hemp futon upstears for my furniture work I decided to make the mattress with her out of this.

So first we cut a lot of slices of coconut fiber and hemp and stacked them up.

We added the cotton sheets in bedween to make it fluffy.

Then I sew a bag with a zipper out of the remnants of the bed and we added little more cotton to the top and the bottom.

Then with a lot of squeezing all of it got in and...

 ...first the mattress looked like this.

 And after evening it out - gorilla style - we sew the original felt buttons on place with a huge needle to hold it firm.

 This is how it came up.

A sweet place to dream!


perjantai 3. tammikuuta 2014

Floor heating system


We bought this awesome old house from Asola near Helsinki and since it needs some serious renovation, I will make a series of blog posts about it!

Under the plastic carpet of the kitchen we found this lovely wooden floor.


And since it was squeaking and bending we decided to undo it and stack it again with a floor heating pipes under it, since a ground-source heat pump system be installed later.


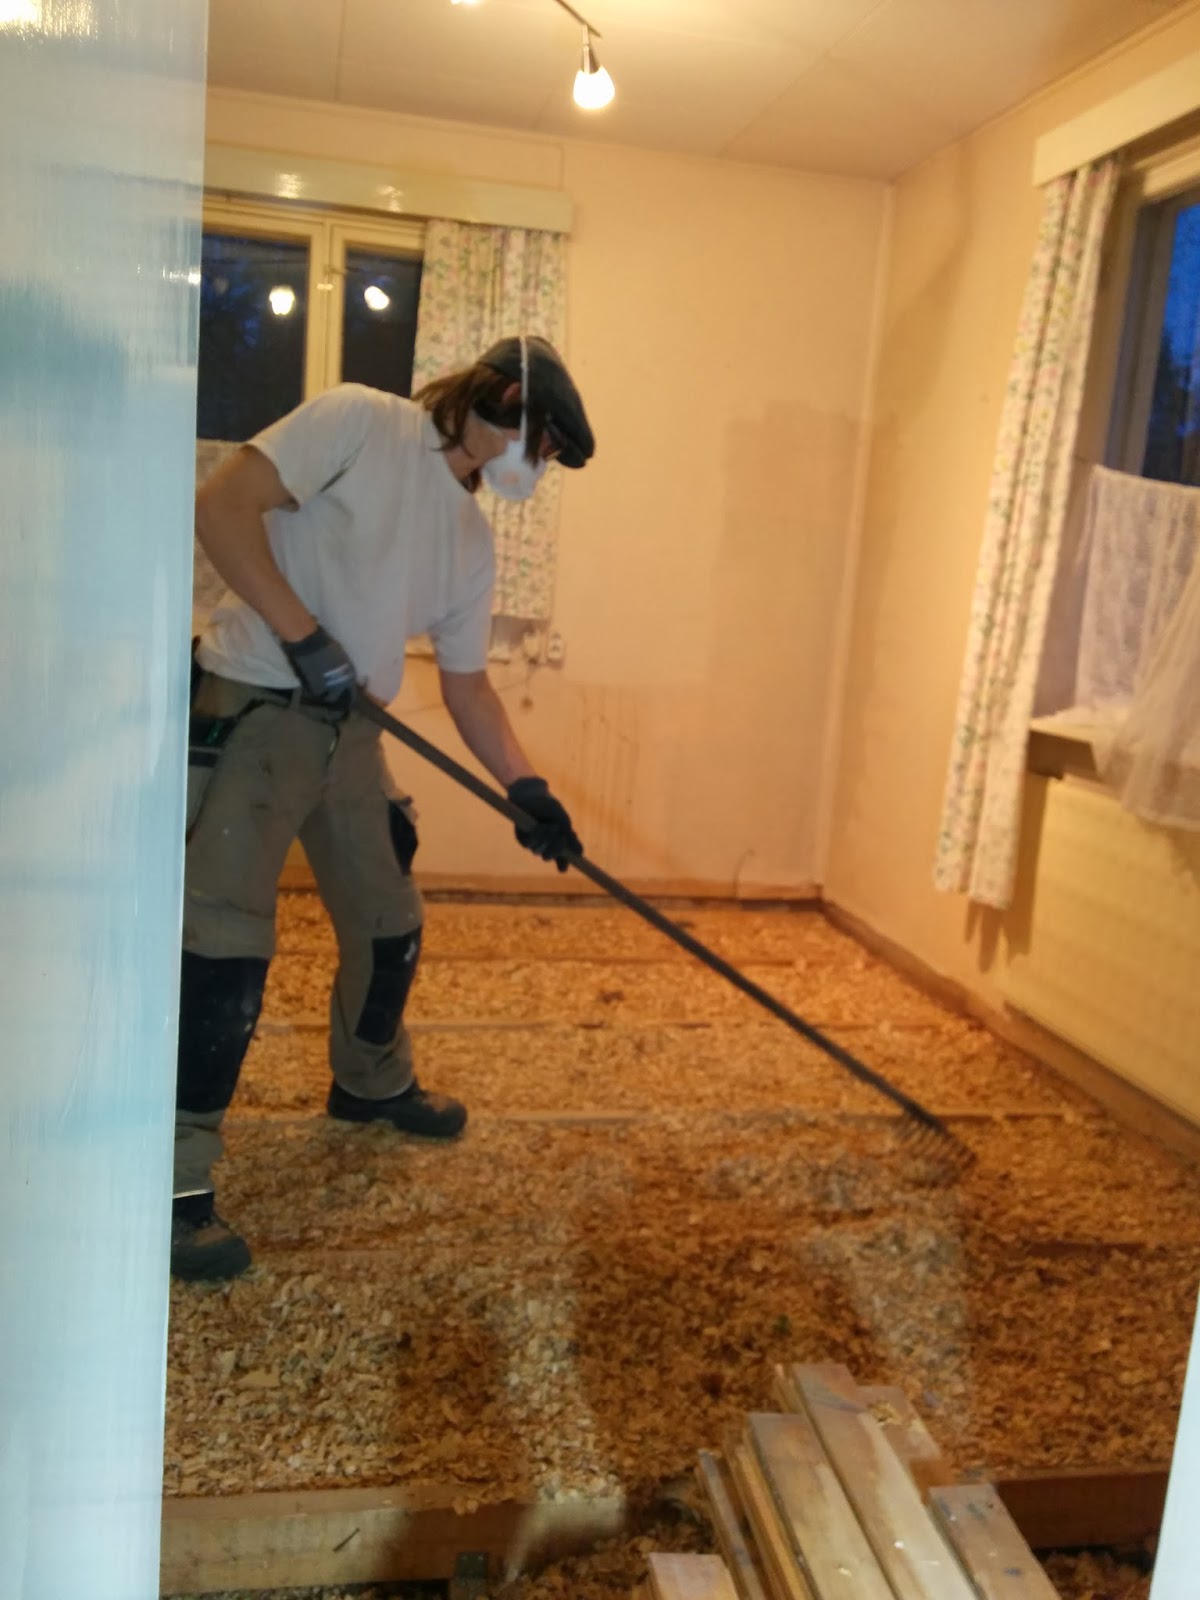
 The woodchip insulation was in good condition, so I got the plumming fixed for the kitchen, pulled the electric wires under the carrier beams and evened it out adding some pulp slabs for insulation.


Then off I went one morning to this surrealistic junkyard to see if I would find something usefull for the floor heating system.


And SCORE! I found what I came looking for after hiking the mountains of aluminium.
Right there in the front middle of the picture, almost a hundred kilo roll of unused 0,5mm thick aluminium, perfect for the floor!

Why..?


Because these are sold for the same purpose aprox 8€ a piece, and that would be thousands of euros for the whole house.

So I took the time and with the sleight of the hand got the sheets ready for the heat pipes.
At times it was like wrestling with huge aluminium snake with sharp edges.


Then we put the pipes in place holding them down with planks until the floor boards came to rescue.


Everything went well, though I had to cut three new pieces for the end since it is now tighter and few boards had to be changed.

After the rest of the kitchen is made, this will be painted and warmed up for the feet :)


maanantai 16. joulukuuta 2013

Dry-toilet-revolution


So here's some finnish dry-toilet culture for a change!
 This is Ekolet, a finnish invention and the only dry toilet on the market (that I know of) that composts urine at the same time as doodoo.

I had the privilege of installing it to cellar of a big farm house and here's the story about it!

Here is how it works;
It has four separate chambers, like pieces of a pie, except there is empty squeare space of 20cm in the middle.

Everything from the toilets comes down te crap pipes(the brown pipe high in the picture, behind it there is another black one), the poo stays in a chamber and the pee goes trough to the very bottom from where it goes in to a pump(in the front right) and circulates to the top where it drips trough plastic membranes with bacteria coat on them, and the pee changes its form so it stops smelling and becomes a ready fertilizer.

Every year the whole machine is turned quarter cycle, and in four years there is ready super soil to empty for the garden!

A ventilation pipe goes all the way to the roof and a small fan keeps underpreassure in the tanks to take out the possible smell, though when the fermenting gets going there is not much of it.


This is the first floor toilet from inside.


And from te outside.


The second floors toilet,


and heres the seat.
It's hard to see, but this tube goes straight down about 6 meter before the chamber!
With a good flashlight, you can watch the free fall! ;)


perjantai 15. marraskuuta 2013

The Hobbit House


Lately I've been working on renovating this old farm house.
For the kitchen they wanted something organic.


 We had this beautiful board to work with, sawn at a local saw mill from old logs. Two boards strongly across made it possible to get playfull with the rest.


 A stack of apple tree branches came to rescue in making this look really hobbitish.
First leveling them out to fit exactly between the boards and then piling them up.


Admiring the figures,


Getting the last branch to it's place.


                       Then cutting and coaxing few extra boards to their place.


And the hobbit kitchen is ready to serve! :)


sunnuntai 20. lokakuuta 2013

ElectricToolBox

 
 Lately I've been busy doing construction and renovation work and here's something I made to ease the moving of the tools to a workplace. 
A toolbox for all the electric tools I need for renovating wood frame houses.

So I got this aluminium trunk for fitting in all the electrical tools needed for daily construction.

 And here are all the tool supposed to get in! They are Makitas 18v series and they work with the same batteries, what is the whole point of the project. 
From the left charger, batteries, power drill, flash light, hand held circular saw, multitool, keyholesaw and foxtail saw.


 This is the fine material cushioning the bottom.


 And this the scetch how it could work out.


 So first Im putting thick rubber for the walls with pull rivets.
  The aluminium bars cut out of scrap help the rubber to resist tear.


Here I'm attaching few poles to the bottom..


 And then attaching everything with rivets and cutting the rubber in to shape.


And this is it! A box full of powertools.